I first saw recipe on an Instagram page and I was fascinated by it.
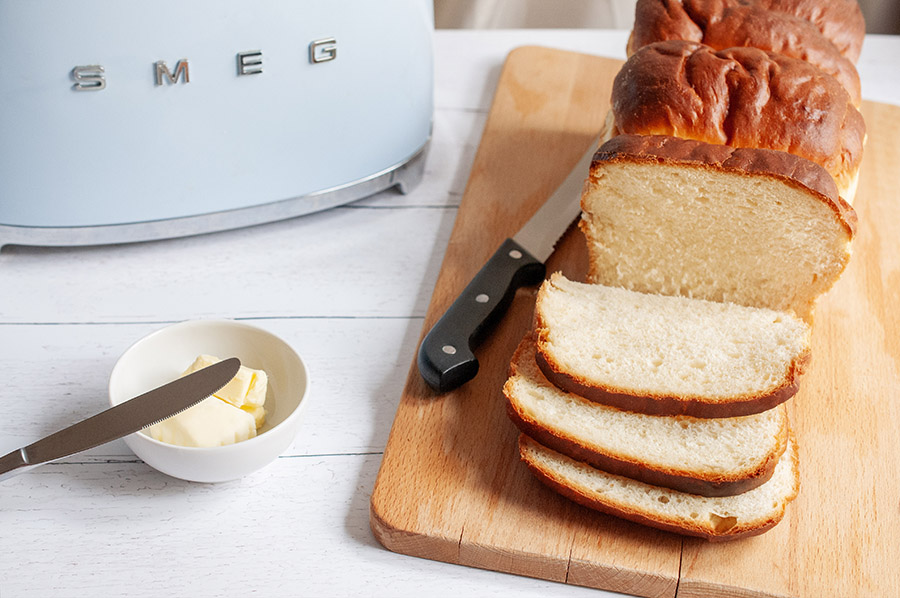
It is a bread called Hokkaido milk bread. Traditionally in Japan they did not make bread but after the contacts with the Portuguese and during the Meiji period (1868-1912) they imported some Western culinary traditions adapting them to their tastes.
The peculiarity of this very soft bread is the use of roux which considerably increases the hydration of the dough and then the high quantity of milk which makes it super fluffy.
It seems that Hokkaido milk is particularly good and valuable. I can’t wait to visit Japan and try the original!
This very soft bread is perfect for breakfast lightly toasted it and spread it with butter and jam.
This recipe can be made in about 4-5 hours.
Japanese Milk Bread
- Preparation time: 4-5 hours
- For a 40cmx16cm pan
- Difficulty: Average difficult recipe
- Ingredients
- For the roux (tangzhong):
- 200 ml of milk
- 40 g of baking flour
- For the dough:
- 580 g of baking flour
- 40 g of condensed milk
- 60 g of sugar
- 20 g of fresh brewer’s yeast
- 200 ml of milk
- 1 egg
- 50 g of soft butter
- 12 g of salt
- Instructions
- Prepare the roux by combining the ingredients in a small saucepan. Stir the mixture with a whisk and bring to 149°F until it has a gelatinous consistency. Place it in a covered bowl and leave to cool.
- While waiting for the roux to cool, we can start prepping the dough. Put into the bowl of a stand mixer ¾ of the slightly warm milk, the condensed milk, the sugar, the egg and the yeast. Mix at low speed until everything is well combined. Add the flour and the remaining milk, continuing to knead until the dough becomes smooth and elastic, it will take about twenty minutes. At this point add the roux, adding one spoonful at a time, until the dough becomes smooth.
Finally add the butter in three times and the salt. - Form a loaf and let it rise at room temperature (75°-80°F), well covered, until it doubles in size (about an hour and a half).
- Cut the dough into four parts and form balls. Let it rise for about fifteen minutes. Lightly floured surface and roll each into a rectangle. Fold the long sides toward the center. Neatly roll up the piece of dough on the long side.
- Put them in the pan lined with baking paper. Cover with cling film and let it rise until it doubles in size (about two hours).
- Preheat the oven to 390°F.
- Brush with milk before baking.
- Bake for ten minutes, lower the temperature to 350° F and bake for another twenty-five minutes or so.
- Brush with melted butter to make it shiny.
Tips to ensure the success of the dish:
- The dough is ready when you are able to stretch it into a thin (almost transparent) film that does not break easily. If you have not achieved this, continue beating.
- The rising time depends on many factors: for example, both the temperature of the dough and the external temperature are very important.
- To avoid burning the surface halfway through cooking, you can cover it with aluminum foil
- Store the brioche in a food-grade plastic bag. It remains soft and stringy for a few days.


